How To Make Paper Confetti Cones – Step By Step Guide
Today we show you how to make your own confetti cones from pretty paper. You can use these steps to make cones from whatever you choose, brown paper or chalkboard paper for a rustic wedding, paper doilies for a vintage wedding, coloured paper to match your colour scheme, or postcard / map paper for a travel theme. You may have also spotted this tutorial in the latest issue of You And Your Wedding Magazine in their fab DIY supplement.
If you like this idea of giving guests a cone of confetti each but don’t fancy making them from scratch fear not, we have cones available in our shop.
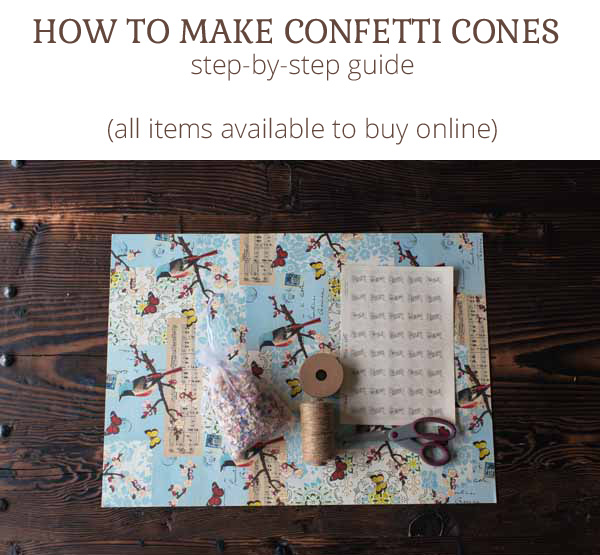 What you will need:
- Pretty paper – range of paper available from www.theweddingofmydreams.co.uk
- Pencil
- Ruler
- Scissors
- Glue stick
- Stickers / twine for decorating
- Petal confetti
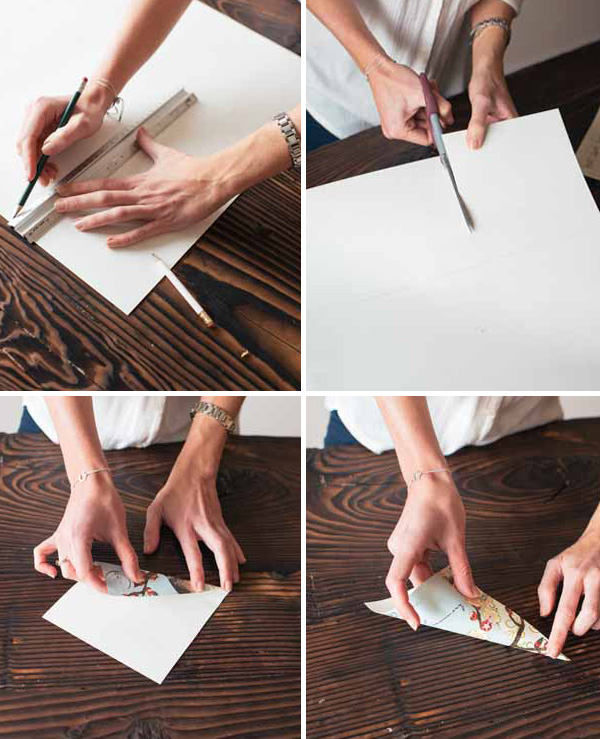
1. Cut your paper into squares, draw lines to cut along on the back of the paper using a ruler and pencil, here we have used paper 15cm x 15cm
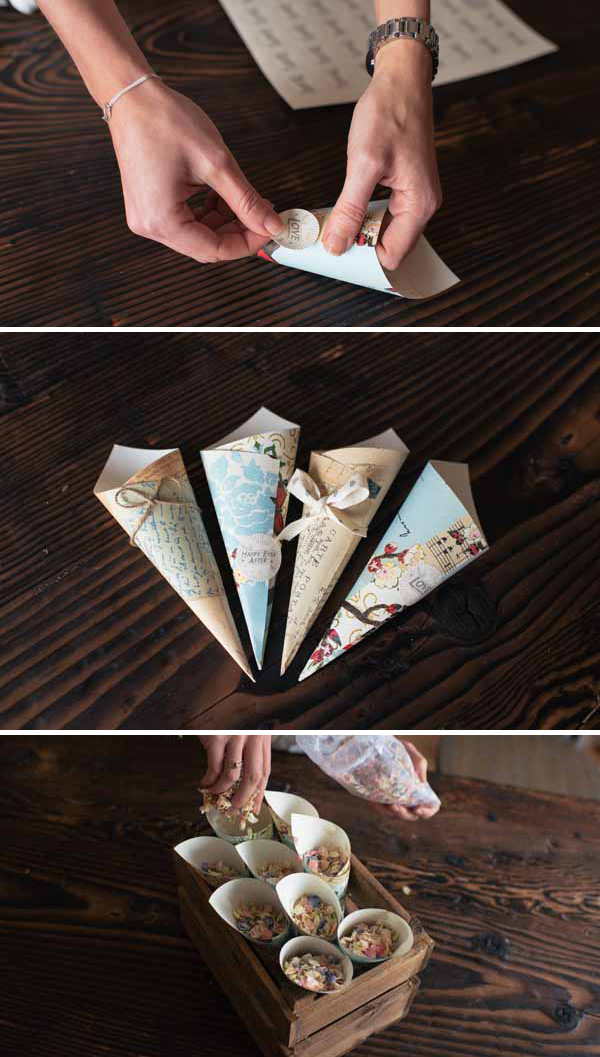
2. Choose one corner of your paper to be the point, gently fold one side of the paper over to make a point, then fold in the other corner so it is a cone shape.
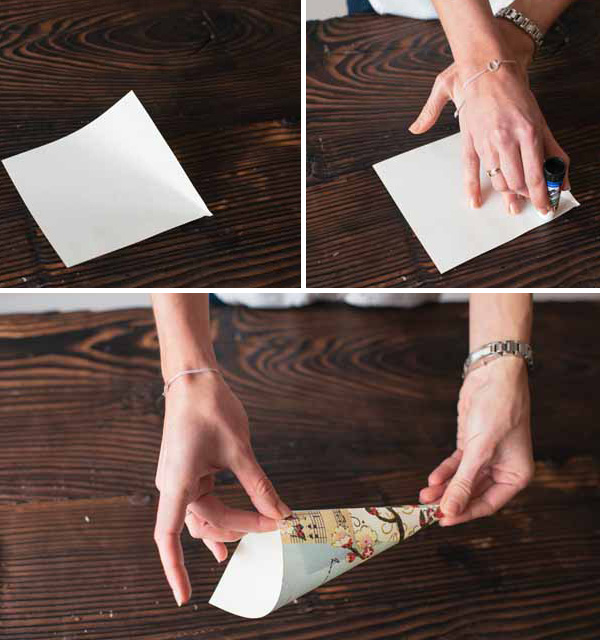
3. Open the paper back out.
4. Glue down one side of the paper.
5. Fold back into the cone shape and stick down firmly.
6. Decorate the cone with a sticker or twine
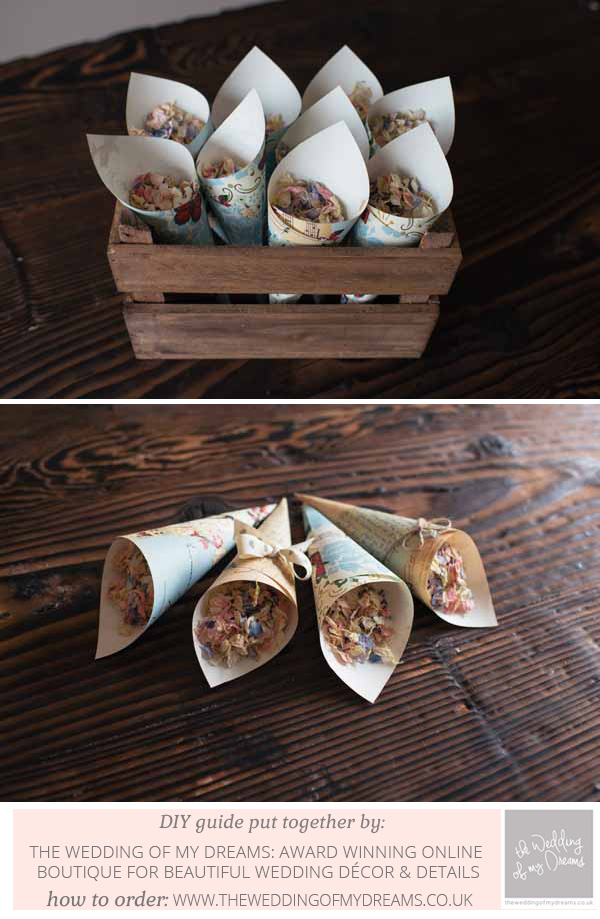
7. Display the cones in a small wooden crate or basket and add confetti for guests to help themselves.
Photography by Daffodil Waves Photography