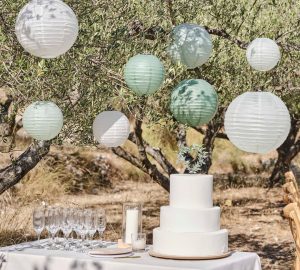
How To Make A World Map Wedding Table Plan
Our world map wedding table plan is the perfect choice for a couple who loves to travel. Name your tables after cities or countries you have visited and use the world map as a table plan display. Here we show you the step by step process involved in creating a world map wedding table plan – it’s super easy!
Plus, we sell everything used in the step by step guide (apart from scissors, drawing pins and glue) so you can easily re-create this yourself.
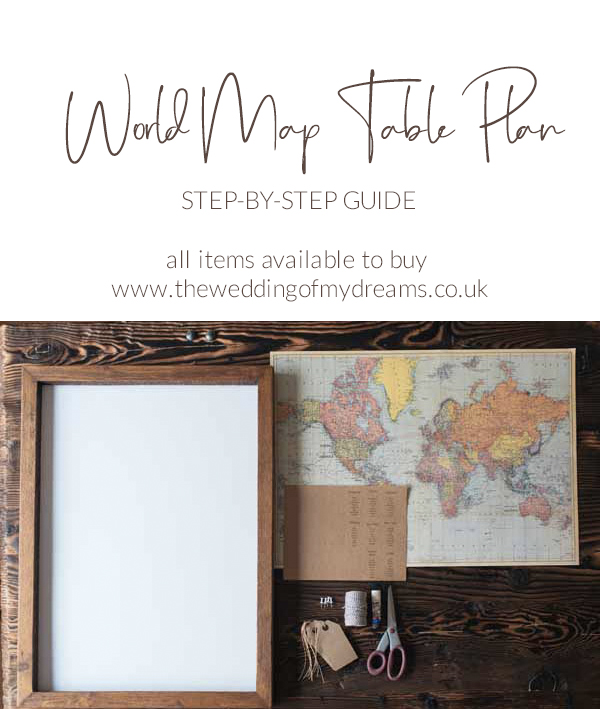
What you will need:
World map print
Frame
Glue stick
Luggage tags
Bakers twine
Kraft address labels
Mapping pins
Step By Step Guide
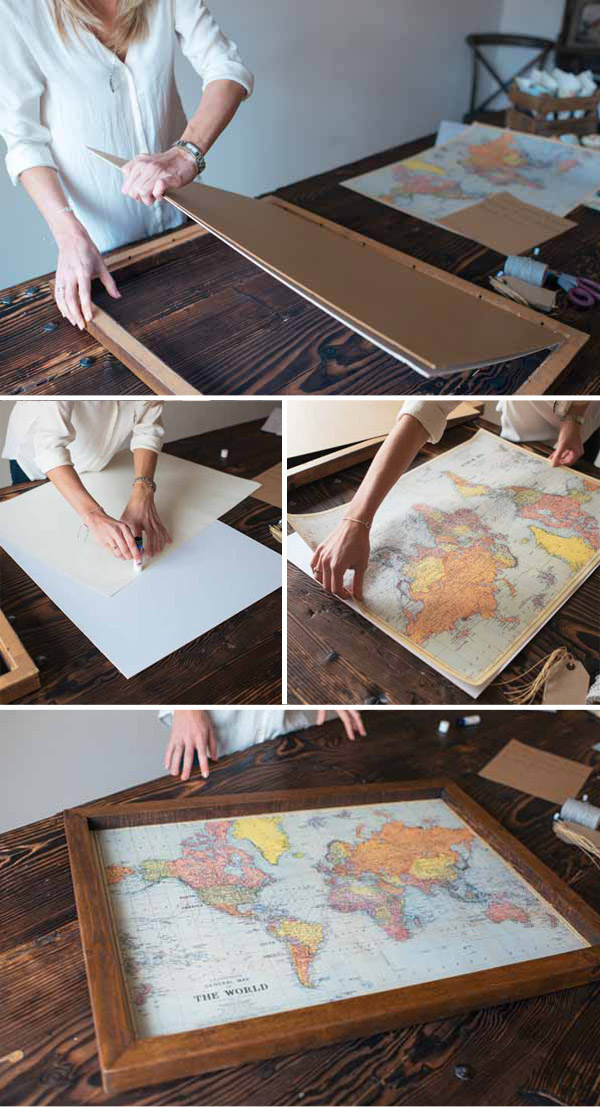
- Open up the wooden frame.
- Stick the map print to the inner card and place back in the frame.
- Decide on the names of your tables, these could be cities or countries that are significant to you as a couple.
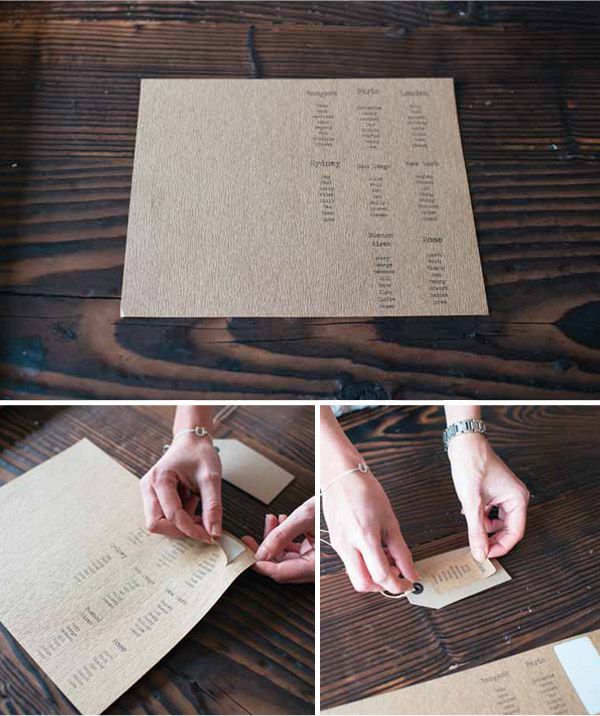
- Print the table name and guests names on to address labels, these could be plain white address labels (24 per A4 page). Here I have used our brown rustic labels for more of a travelling look. I have also used a typewriter style font, you can download fonts for free from various different websites, I like dafont.com.
- Stick the printed labels onto your luggage tags.
- Add length of bakers twine to your first luggage tag and stick on the map near the country / city it corresponds to.
- Place a mapping pin into the city country on the map.
- Tie the bakers twine around the mapping pin and cut at the right length, stick the luggage tag to the print so it doesn’t move about.
- Repeat this for all your tables
- Place the frame on an easel
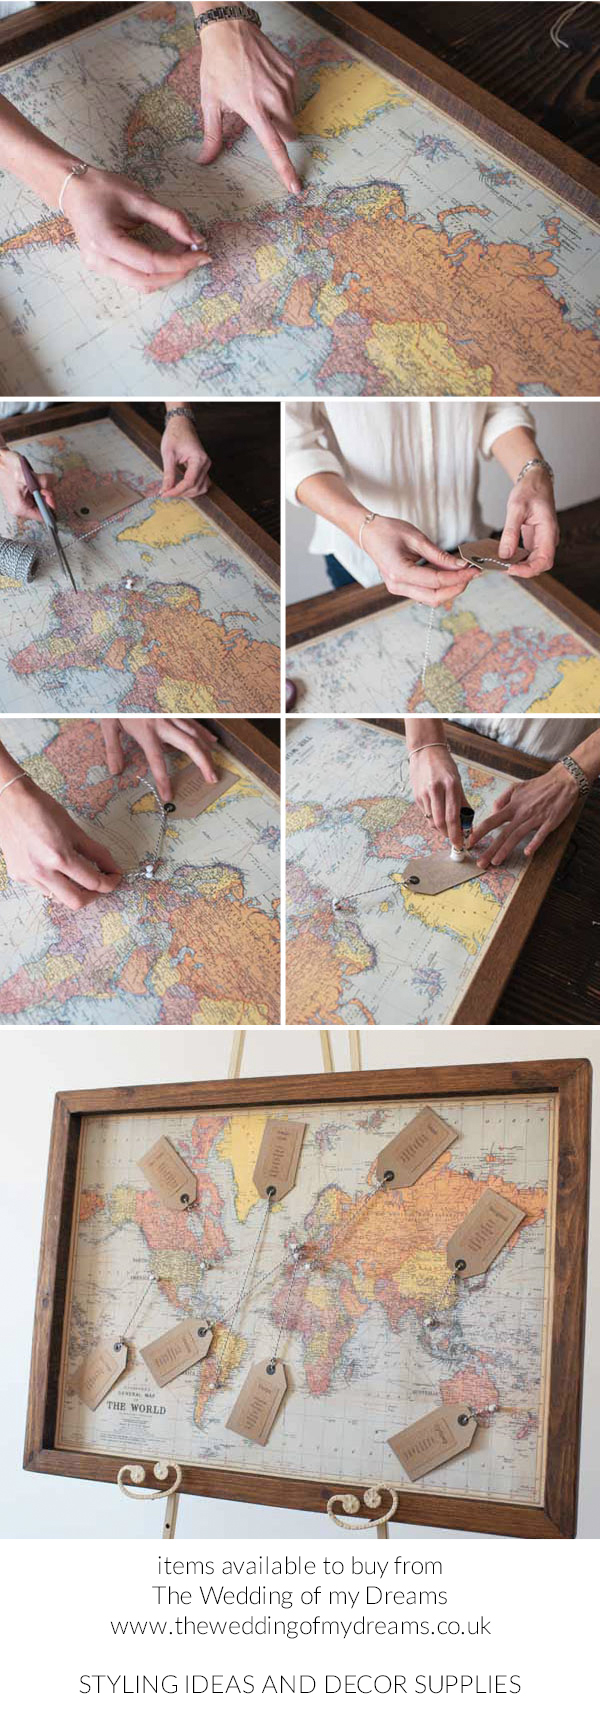
Photography by Daffodil Waves Photography
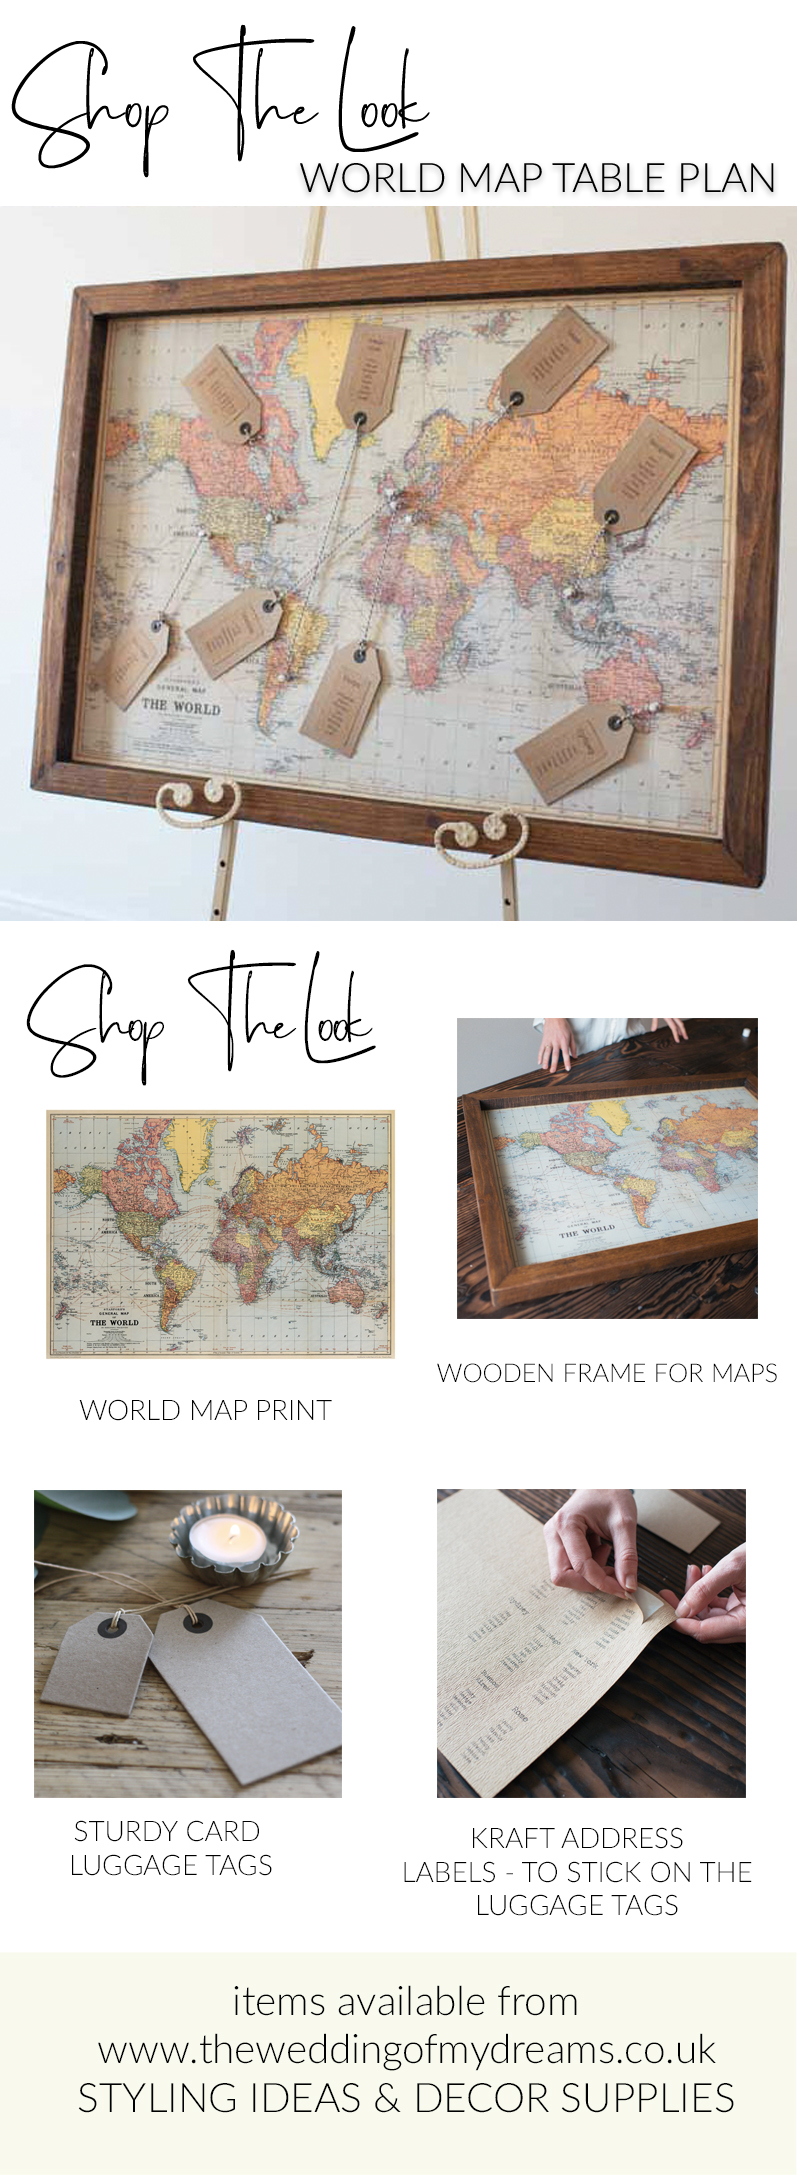

- World map print
- Wooden frame – made to fit our world maps
- Thick Cream luggage tags / Brown luggage tags
- Poster kit – to easily hang your world map rather than frame it

